Find Files in Seconds by Simple Tree Form
Last week we talked about what constitutes ‘user data’ and how important it is to keep a backup copy on a device separate to your PC. Today we are looking at the structure and type of your data files. We are often seeing customers bringing in their PC with no logical structure to their data.
Computers operate on a directory structure not too dissimilar to the branching effect of a tree. You can have several main folders (let’s call them 1st level folders) – e.g. Work, Private, Photos, Invoices or Warranty Receipts, Music, Hobby X or whatever and then you can place 2nd level folders ‘down another level’ inside these main ones.
For example within the photos folder you could have folders titled family, friends, events, holidays, hobby x and hobby z for instance. You can even then have 3rd level folders such as the name of each event in the events folder and hence be able to place the relevant photos from that event in its own – easy to find folder!
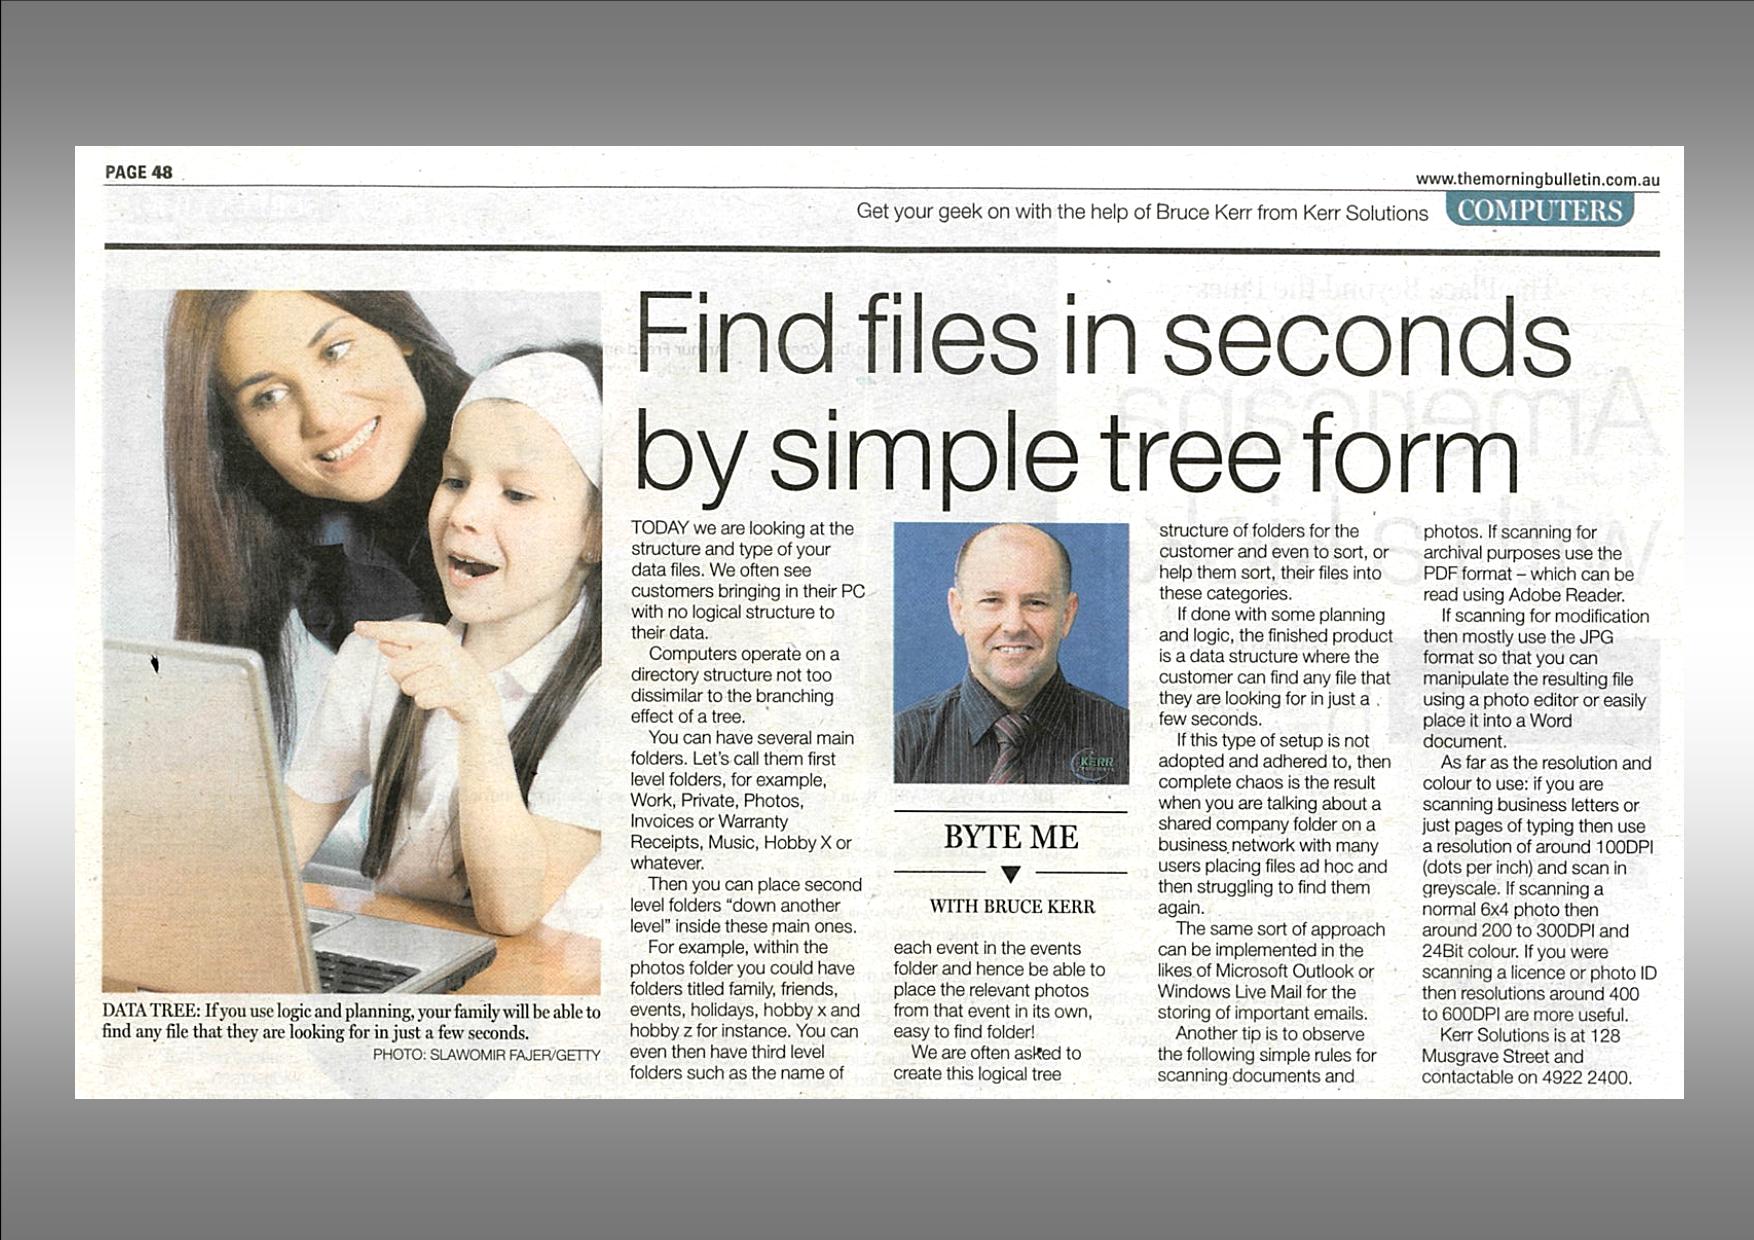
We are often asked to create this logical tree structure of folders for the customer and even to sort or help them sort their files into these categories. If done with some planning and logic the finished product is a data structure where the customer can find any file that they are looking for in just a few seconds.
If this type of setup is not adopted and adhered to then complete chaos is the result when you are talking about a shared company folder on a business network with many users placing files ad hoc and then struggling to find them again. The same sort of approach can be implemented in the likes of Microsoft Outlook or Windows Live Mail for the storing of important emails.
Another tip that is relevant at this stage is to observe the following simple rules for scanning documents and photos. If scanning for archival purposes use the PDF format – which can be read using Adobe Reader. If scanning for modification then mostly use the JPG format so that you can manipulate the resulting file using a photo editor or easily place it into a Word document.
Professional photographers will already know about file types and be using their own preferred software and corresponding files. As far as the resolution and colour to use – if you are scanning business letters or just pages of typing then use a resolution of around 100DPI (dots per inch) and scan in greyscale. If scanning a normal 6×4 photo then around 200 to 300DPI and 24Bit colour. If you were scanning a licence or photo ID then resolutions around 400 to 600DPI are more useful.
Adhering to some of the simple rules above will stop your data ballooning out to ridiculous sizes as well as helping you to setup a backup system that easily targets your important files.
Future Byte Me topics can be emailed to [email protected] and Bruce is contactable at Kerr Solutions, 205 Musgrave Street or on 07 49 222 400.
For more advice and assistance from Kerr Solutions, like and follow us on Facebook